123FormBuilder Knowledge Base
Search our documentation platform for answers, service specifications and 3rd-party integrations.
123FormBuilder and Zoho CRM Integration
The integration of 123FormBuilder with Zoho CRM allows you to send leads, contacts, and company information to your Zoho CRM account. Zoho CRM terminology refers to Leads, Contacts, and Accounts. Leads are potentials contacts, Contacts are individuals with whom you’ve already done business and each Account is associated with a company.
To enable the integration with Zoho CRM, go to your 123FormBuilder Integrations section, search for Zoho CRM using the search bar and press Connect.
Next, provide your Zoho CRM user information.
Open your Zoho account and access the developer’s console: https://accounts.zoho.com/developerconsole.
Click to add a new client. Type in your details and generate the Client Id and Client Secret. In this article from Zoho, you will find all the details about how to register a new client.
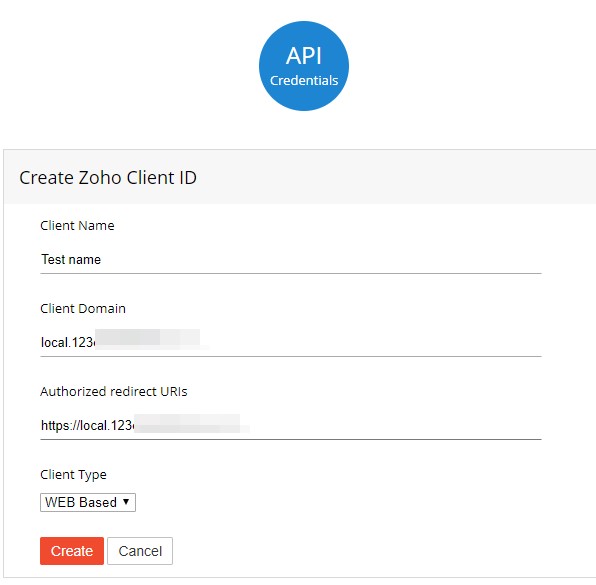
If you don’t have a domain name and a redirect URL, you can use dummy values in their place and register your client.
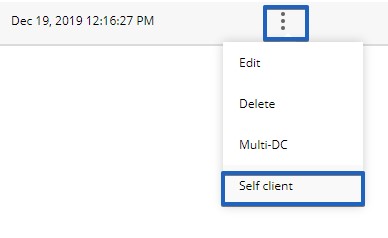
Click the show more icon next to your client ID and choose Self Client.
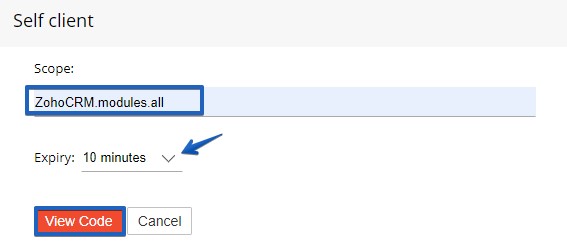
Where it says Enter the valid scope use the following: ZohoCRM.modules.all
Set the expiration time to 10 minutes to have enough time to enable the integration.
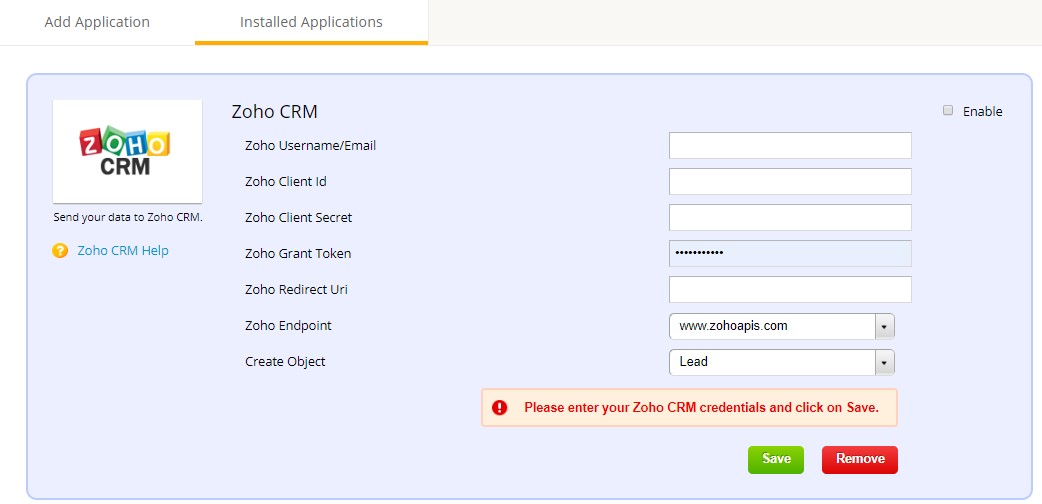
Copy the Zoho Grant Token generated code and enable the integration.
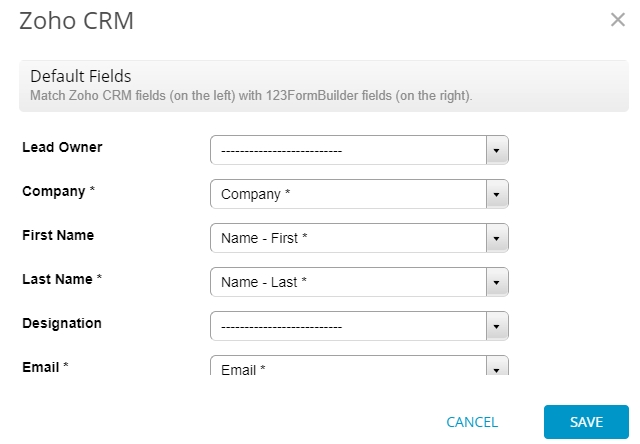
The final thing that you need to do is click on Customize and create associations under Default Fields and Custom Fields (if needed) between form fields and the fields in your Zoho CRM account.
Note: Once the credentials are saved on the app, they become locked and cannot be changed unless you disable the app by ticking the checkbox on the top right corner, or if you change the object type from the dropdown list. In short, whenever you want to change the username and/or password of the Zoho CRM account in the app, make sure you disable it first.
You may update contacts, leads, or accounts by checking the option Upload record if it already exists. If you want to send uploaded files to your Zoho CRM attachments, check the option Send uploaded files to Zoho CRM.
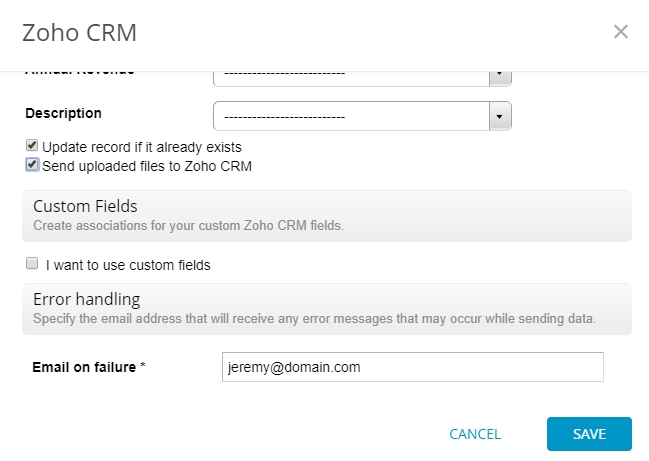
Finally, use the email address for Error Handling to receive error messages from certain submissions. In case of a bad Internet connection on the user’s side, you will receive a message by email if the integration failed.
Find out how to set up custom fields for your Zoho CRM account.
Press Save and it’s done! You will now receive form submissions in your Zoho CRM account.
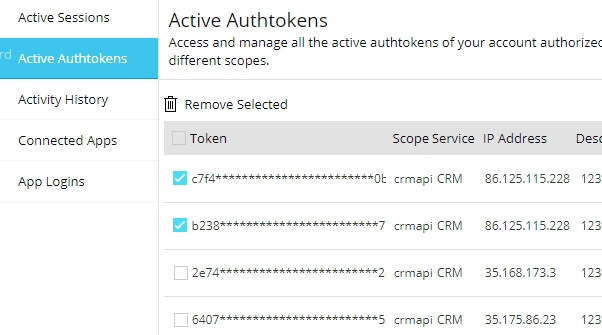
Take note that each time the app is saved, the same token is saved in your Zoho CRM account, in My Account – Active Authtokens. The Zoho CRM account cannot support more than 10 tokens at the same time, the reason why we update the same token every time. In case your integration isn’t working, check if you haven’t deleted the token by accident in your Zoho CRM account.
Zoho CRM updated its API from V1 to V2 and the Zoho codes written based on V1 will stop working. Therefore, we have updated the 123FormBuilder-Zoho application to API V2. All existing integrations will need to be re-enabled in order to work.
2 comments
Leave a Reply
Similar Articles
Frequently Asked Questions
Here is a list of the most frequently asked questions. For more FAQs, please browse through the FAQs page.
I have the starter version of your contact form being used on my website. I am interested in integrating my 123 contact form with Zoho CRM. I was wondering if you offered a trial period to do this so I could see how well this works before I upgrade to your Gold package?
Thanks,
Mike
Hi Mike!
If you email accounts@123formbuilder.com, I’m sure my colleagues can help you out.