123FormBuilder Knowledge Base
Search our documentation platform for answers, service specifications and 3rd-party integrations.
Third-party Applications You can Integrate Your 123FormBuilder surveys
123FormBuilder provides several third-party applications that you can integrate with your web forms & surveys. Automate your workflow by sending the form data to a different platform when the form is submitted.
In the form builder account, go to the Form Editor → Integrations section. There, you will find 3rd party apps in categories such as: Most used, All, Email marketing, CRM, Data management and Utilities and social and Use Zapier. All you need is a 123FormBuilder account and the credentials of the platform where you want to send the data.
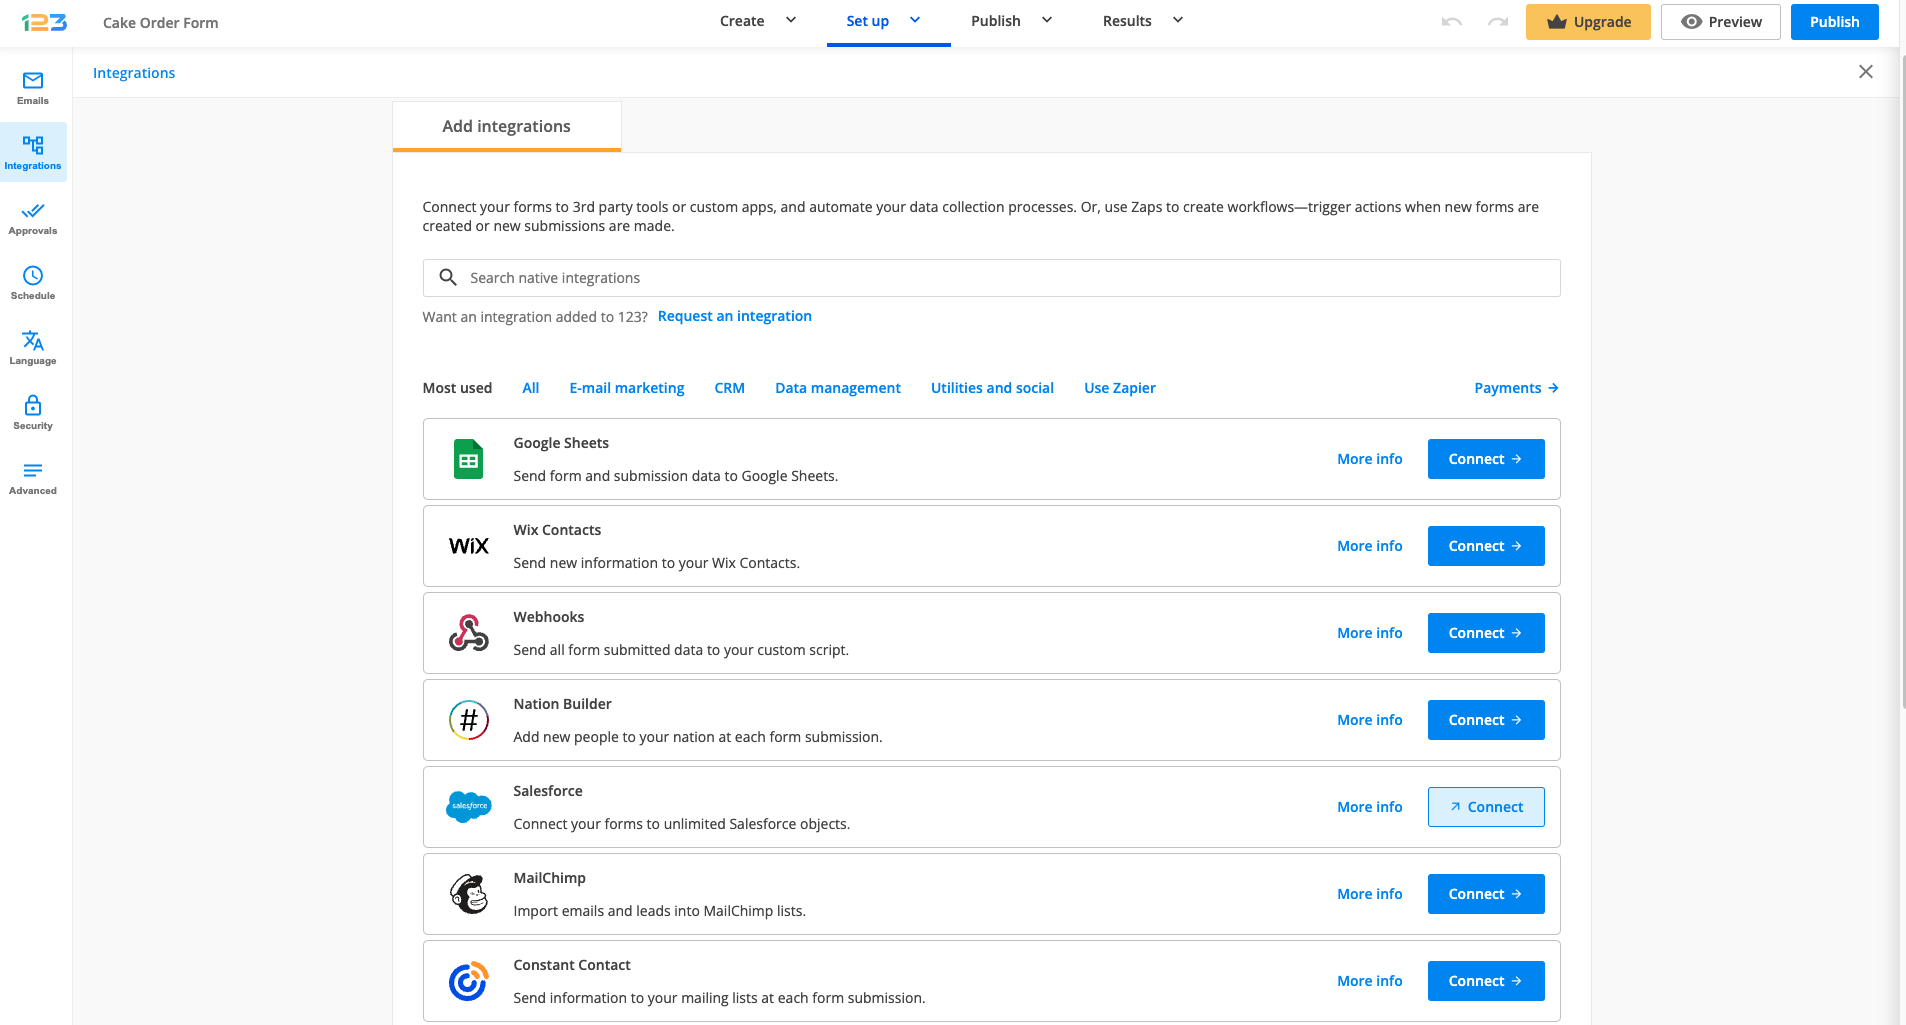
Below is a list of all the direct integrations that we currently support:
- Google Drive (Google Sheets)
- Google Groups
- Salesforce
- WebHooks
- MailChimp
- VerticalResponse
- iContact
- Top Producer
- AWeber
- Zendesk
- Zoho CRM
- Constant Contact
- Pipeline Deals
- Dropbox
- GetResponse
- Smartsheet
- Google Calendar
- Enormail
- Unbounce
- Evernote
- NationBuilder
- Wix Contacts
- Campaign Monitor
- WordPress Posts
- Marketo
- Big Contacts
- ActiveCampaign
- Egnyte
- Salesforce Marketing Cloud
- Shopify
To add an application, move your mouse on the application box from the list and press Add. Afterward, type in your application data in the box that appears on your page. If you need to disable an application, uncheck the Enable box. To completely remove an application, select the Remove button.
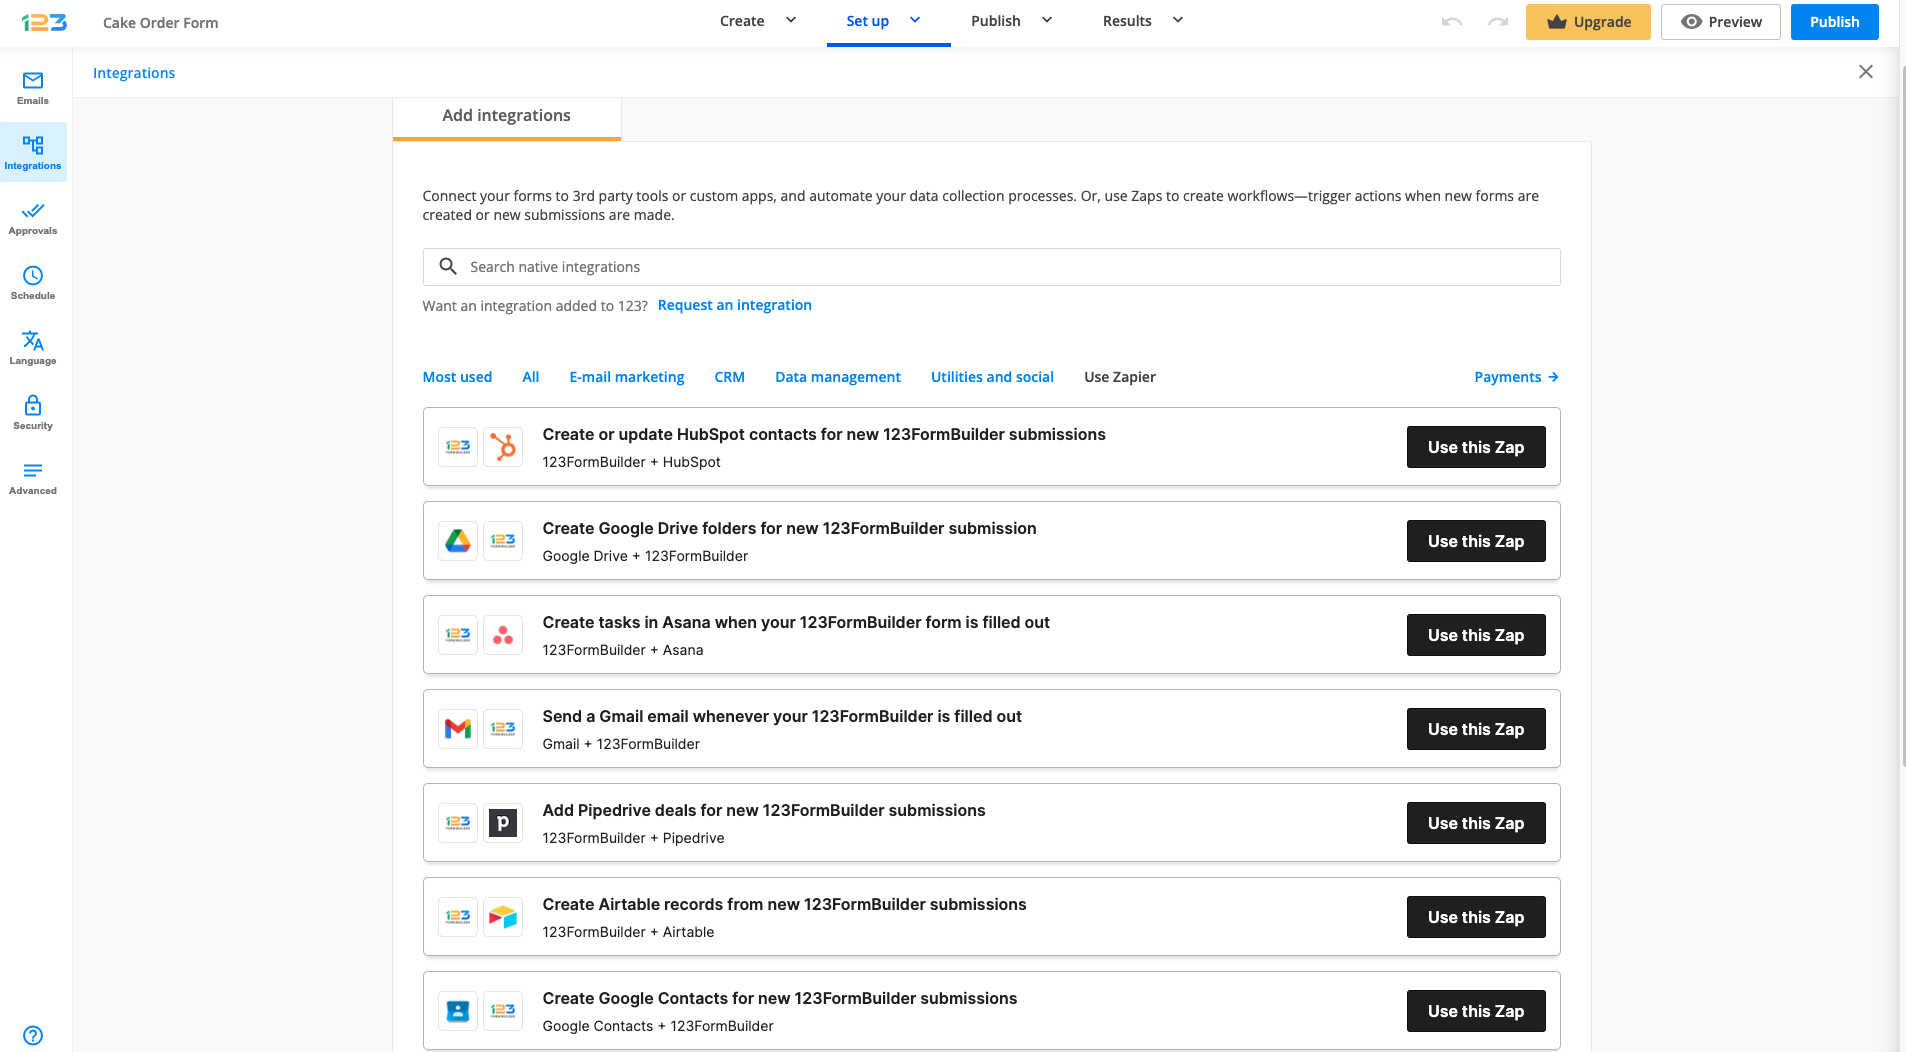
In addition to our own integrations, we have included the most popular zaps made between us and Zapier. Click on Use Zapier tab and in the pop-up window, you will be guided further on how to establish the connection.
Similar Articles
Frequently Asked Questions
Here is a list of the most frequently asked questions. For more FAQs, please browse through the FAQs page.